A fire pit can elevate your yard into a truly enchanting entertainment area, liven up your space and even help enhance your curb appeal. While some home projects are not ideal for the DIY approach, you can make a striking firepit on your own in about a weekend. You'll need to gather some supplies, determine the size and shape of your fire pit and get ready to work your muscles as you create a new focal point for your yard.
Create a Fast & Easy Firepit
Fire pits are surprisingly fast and easy to create. If you can layer stones and follow basic directions, you can create an enduring accent you'll enjoy for years to come.
Materials:
A fire pit needs a gravel base and surround, stones or concrete bricks for the sides and firepit stones for the interior. You'll also need some basic tools for leveling the ground and finishing the space, including a shovel, rake and a can of spray paint. While you can head right to the DIY big box store, contact your local landscape supply stores as well. You'll need both stone and gravel in bulk and you'll pay far less for it from a landscape provider.
Choose natural stone if you enjoy working things out and want to take the time to work with raw materials that may differ in size and shape. Opt for uniform pavers, bricks or poured stones if you like an overall look and want the pieces to be easy to stack.
Create a Firepit
- Determine the size and shape pit you want to make -- larger pits make bigger entertainment spaces, but require more rock. You'll need space for the pit and for seating around it, so take these needs into consideration as you determine where the pit should go and how big it should be.
- Use spray paint to mark off a shape for the pit. It can be square, circular or just an appealing organic shape.
- Dig about an inch down, remove all grass and sod and create a level surface on the ground.
- Begin stacking your chosen stones around the edges, within the leveled off area. You will not need to mortar between the stones, but should attempt to stack them evenly, without a lot of gaps. Stack one layer at a time, then move on to the next.
- Fill the base with the amount of fire pit stones recommended by the manufacturer -- this can vary and will be printed on the container.
- Spread gravel around the outside edges of the pit to create a seating area and to prevent grass from returning.
- Light it up and enjoy!
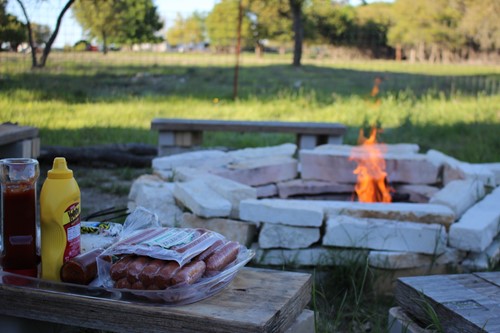
Once complete, a fire pit will be a lasting, low maintenance focal point for your yard for years to come. Use in the summer for grilling and roasting marshmallows, then fire it up for warmth on cooler nights -- either way, you'll love enjoying not only a gorgeous accent, but a piece you've made yourself.
About the Author